Facts and Features
Lot: 84,875 square feet
Year Built: 1998
House: 6,021 square feet
Type: Single Family
4 bedroom, 5 bath
Parking: Attached, 2 spaces
Elevation: 1,900 feet
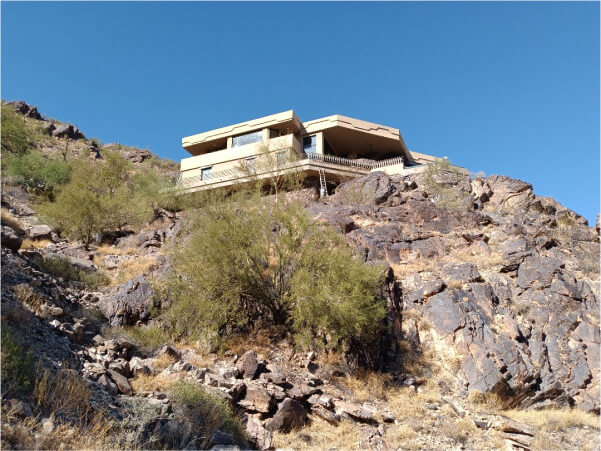
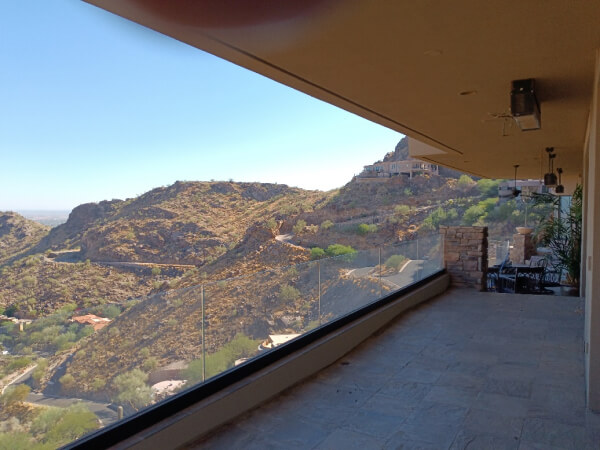
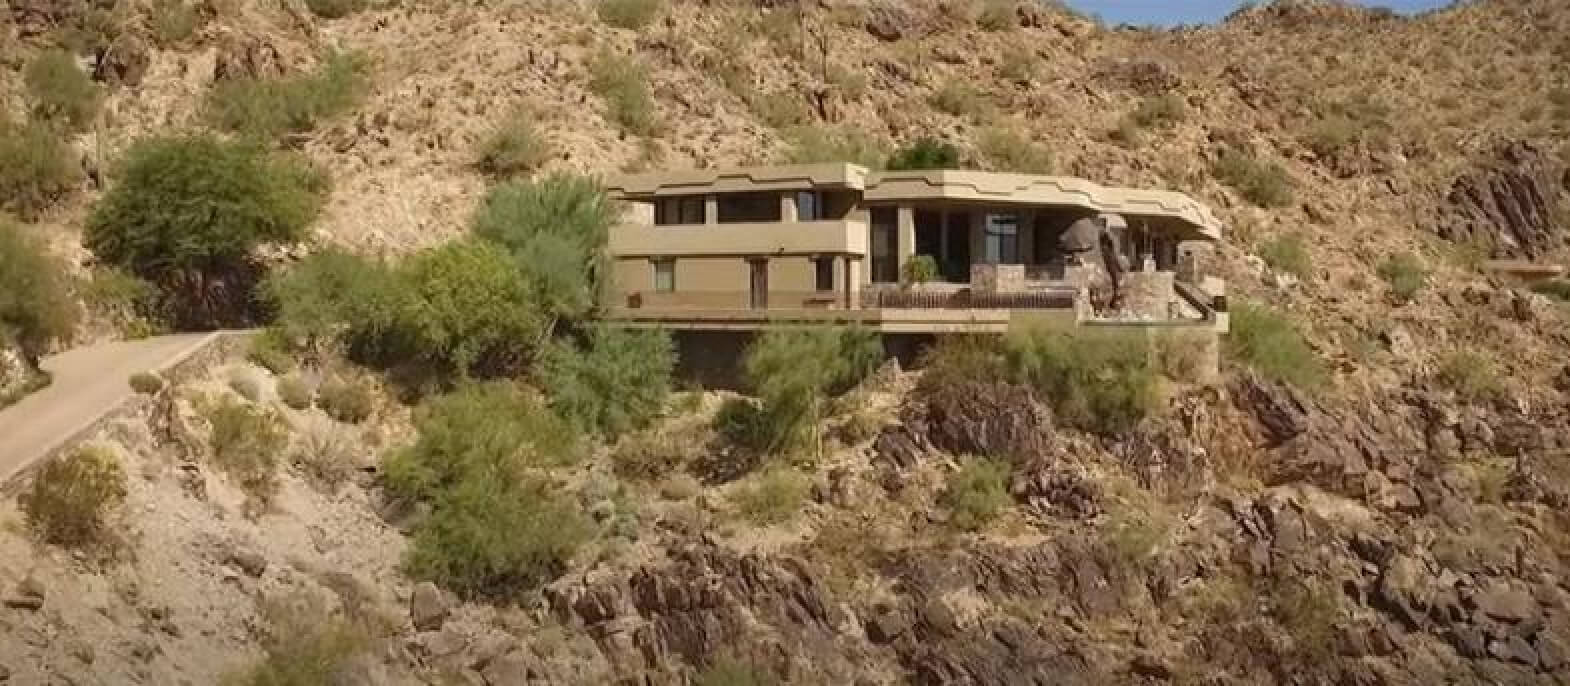
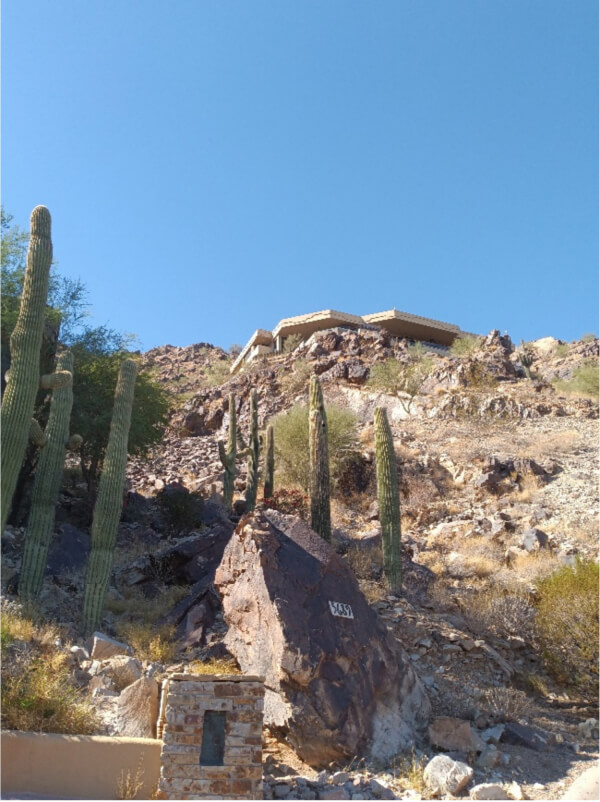
Mummy Mountain Mountain-side Home is a 6,021 square foot home built on the side of Mummy Mountain in Paradise Valley, Arizona. The elevation of the house is approximately 1,900 feet above sea level, which is about 700 feet higher than neighboring Scottsdale. The driveway is so steep, according to the homeowner, that it would have been illegal to build it if the Phoenix metro area ever got snow.
The home was being prepared to be put up for sale. The project included a total interior repaint, which was completed without any remarkable challenges, other than the driveway. The driveway was steep and narrow. It widened to two car widths at the garage. There was just enough room for a family car to turn around and go down the driveway forward-facing. But our truck had to back half the way down the driveway before there was sufficient room to turn around. We couldn’t pull a trailer up to the house. So, we had to plan and pack the truck very carefully each day.
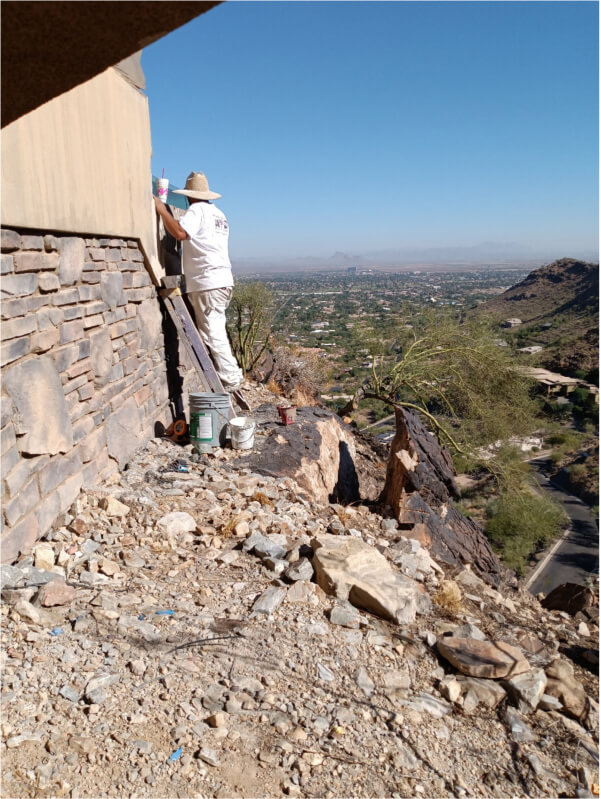
The exterior of the house was a special challenge. There was extensive exterior stucco repair and repaint, along with a lot of metal railings. However, that wasn’t the challenge. The repair and painting would have been routine if conducted in the typical Phoenix suburban neighborhood. But this house is on the side of a mountain. The uphill side of the house had narrow access and loose, rocky soil to contend with. We painted what we could reach on the downhill side by leaning over the balcony rails with extension poles. The downhill side foundation had to be painted from a narrow ledge below the foundation using a step ladder when it was flat and wide enough, and a short extension ladder when it wasn’t flat and wide enough. Our crew repeatedly dug out small trenches for the feet of the ladder to sit in. Then we used metal spikes to nail the ladder feet into the mountain side. That process was repeated over and over again as we worked our way around the house foundation.
The safety of our crew was the preeminent concern. They worked in pairs. One crew member would be responsible for the safety of his crew mate, and vice versa. Every potential hazard was identified, and a strategy was developed to keep each one safe from slipping and falling.
What is the age and condition of the structure and substrate?
The house was built in 1998. The condition was good. This was the first repaint, so the house was overdue. There was no unusual deterioration.
What was the extent of surface prep for this project?
The surface preparation was typical for stucco houses. We carefully protected adjacent unpainted surfaces as needed. We wire brushed and scraped existing loose coatings as needed for proper adhesion of the new coatings. We removed loose stucco surfaces, applied UGL Drylock masonry waterproofer and floated it smooth, and retextured stucco where needed. We spot primed new stucco surfaces using proper primers including a special sealer/primer.
What was the top priority/request made by the client?
The house foundation and most of the metal railings face the street and were prominent. Even though the curb was over a hundred feet below the house, the homeowner was concerned about the curb appeal of the home. His priority was for us to do expert work repairing the stucco and repainting the street-facing side of the house.
This is a review the customer submitted:
“Hector and the crew did an amazing job. They did so well in fact we kept adding onto the scope of work. What started as a touchup project turned into a complete interior color change as well as almost half of the exterior. The guys were courteous, listened to our ideas/concerns, and left the house looking cleaner than when they arrived. Matt was able to update us with prices within hours of us asking to add more work. We felt the prices were so fair and the quality of work was second to none. We have had Matt out to give us estimates at two other properties and look forward to working with MTS again soon.”
Describe the products used in the project.
- Rapid Set Stucco Mix and Black Jack Permanent Patch 102 for repairing the stucco.
- Rust-Oleum Seal-Krete Original Concrete Paint, Sealer, Primer, and Finishing Product. This coating was used to bind chalky paint to the new topcoat.
- Dunn-Edwards Spartashield flat exterior paint – SW7549 Studio Taupe for the topcoat.
- Sunburst Coatings 2K Urethane Semi-gloss Electrostatic Paint for the metal railings.
Why did you choose these specific products, and did they perform to satisfaction?
We used Dunn-Edwards paint because the customer specifically asked that we use it. It is a fine paint that performs well in Phoenix. We use a lot of it. We always use Seal-Krete when we encounter chalky walls, and the two stucco products when we do stucco repair. All three products continue to work well for us, and our crew is accustomed to working with them. We prefer to use two component paint on outdoor metal. It holds up longer in the Arizona sun.
Describe the level of skill required for the project.
One of our master painters was the jobsite manager on this project. We value his many years of experience painting. He is a skilled craftsman. But particularly on this job, we trusted his prudence. We knew that he would take appropriate precaution with the loose soil, uneven ground, and heights. He prioritized the safety of his crew.
Describe any unusual tools and equipment needed to complete this project.
The only equipment that was unusual for a painter were the two steel spikes and the sledgehammer that was needed to drive the spikes into the rocky soil each time the extension ladder was moved.
Describe any aspects of the environment that resulted in more challenges for the project.
Apart from the hundred-foot drops, the environment couldn’t have been better. Working outdoors during a Phoenix autumn is special. In addition, the view was inspiring.
Describe your safety plan for this project.
As mentioned before, safety was THE issue with this project. The plan began with the initial job walk with our estimator and the homeowner. The homeowner was keenly aware of the hazards. He pointed out, from his own experience, the safest ways to move around the perimeter of the house and to climb down to the foundation. Our estimator took dozens of pictures from every angle. Using the estimator’s notes, our project manager worked through the pictures with the crew to brainstorm a strategy for accomplishing the project in safety. Proper sequencing was important. Because moving the extension ladder was so tedious, the painters masked or shielded the area they could reach from the ladder, then painted that area, then removed the masking before moving the ladder to the next position, all the time being careful to not overreach.
What were your main concerns regarding this project?
We were concerned about maintaining standard production speed and quality without putting anyone at risk.
Describe why you chose the specific photos that are included.
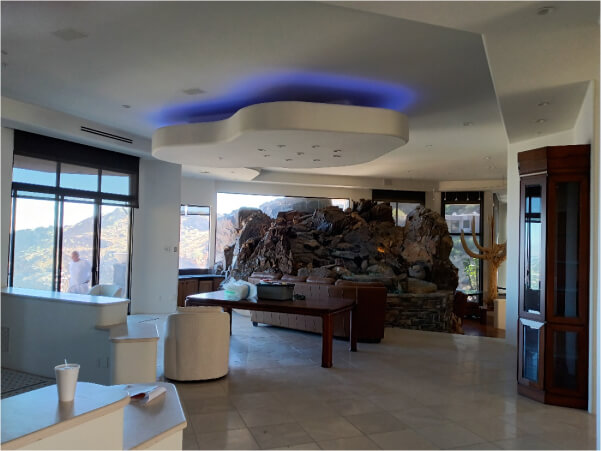
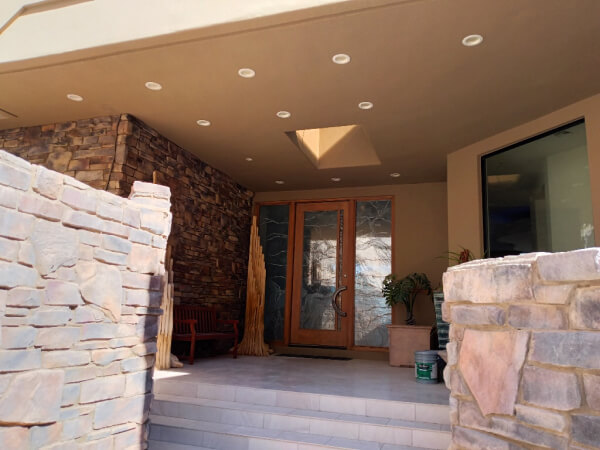
We chose photos that show the elevation of the property from street level and from the balcony looking east towards Scottsdale. One photo shows the living room with a large rock formation penetrating through the floor. A photo shows the grand entrance. Several photos show a painter clinging to the ladder which is precariously placed near the edge of a significant drop.
